
Installation and Authorization
Install NotionAI Exporter, connect a Notion workspace, and verify the first sync.
Step 1: Install the extension
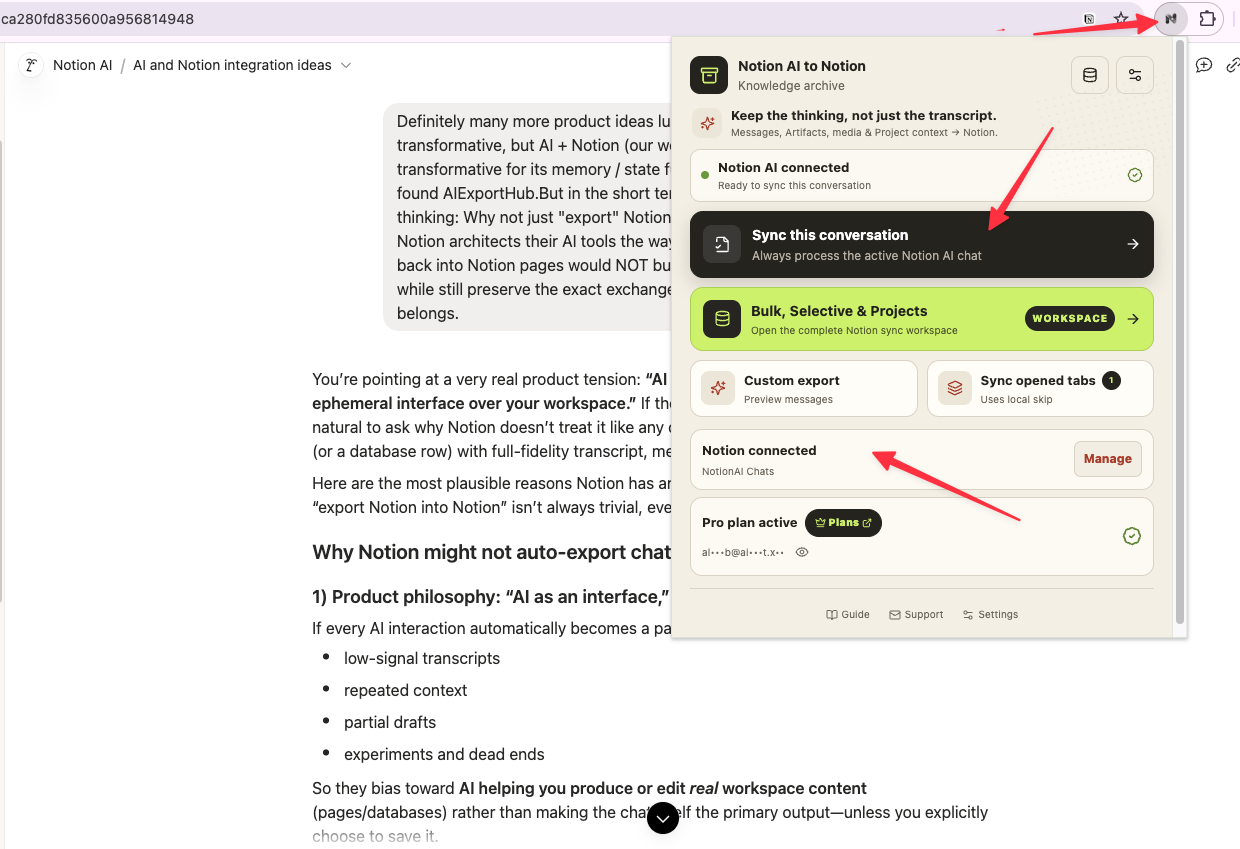
Install Notion AI to Notion from the Chrome Web Store, then pin the extension in Chrome for quick access.
Step 2: Open Notion AI
Open Notion, sign in, and open a Notion AI conversation. Keep the tab open while you connect the destination.
Step 3: Authorize your workspace
- Open the extension options page.
- Click Add Notion access.
- Approve access in Notion.
- Wait for the callback page at
/products/notionai-export/notion-redirctto finish. - Return to the extension and confirm the workspace is shown as connected.
Step 4: Choose a database
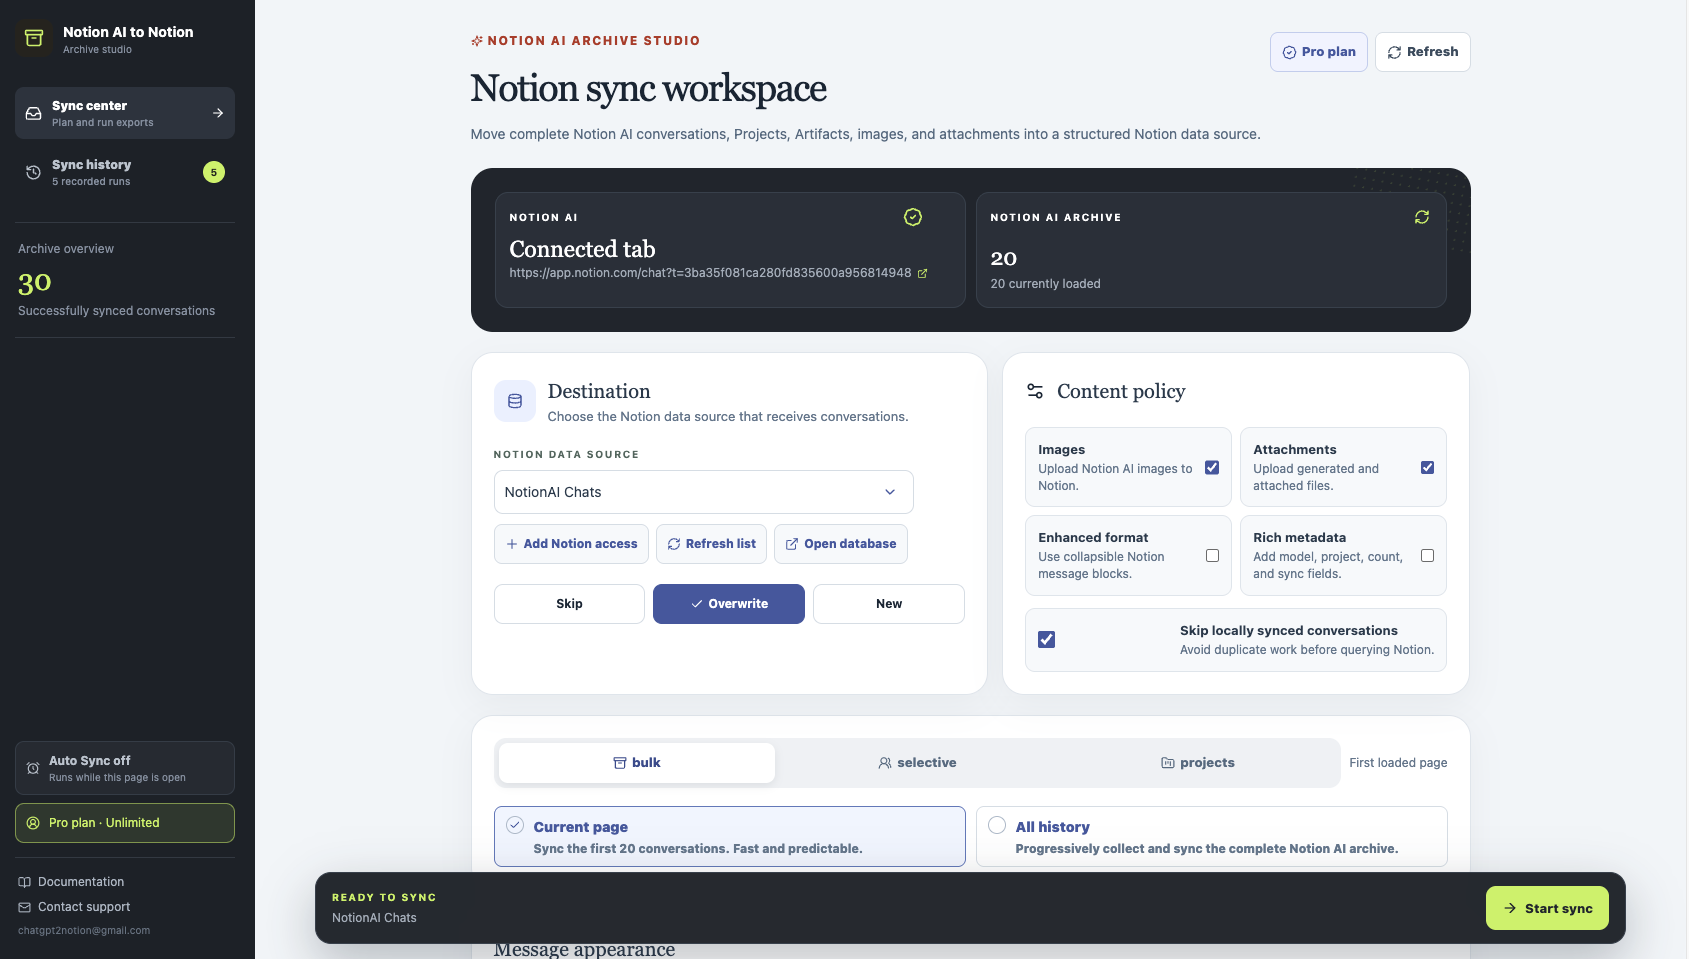
Use the NotionAI Chats Manager template, duplicate it into your workspace, and select the copied database from the extension. The integration must be allowed to edit the database.
Step 5: Run a safe first sync
Start with one current conversation. Confirm the title, source URL, message order, and metadata in Notion before running a selective or bulk export.
Troubleshooting
- Keep
app.notion.comopen and signed in while syncing. - Refresh Notion after switching accounts.
- If the callback page remains open, return to the extension and start authorization again.
- If the free lifetime-save limit is reached, use View Account & subscription in the warning panel.
Need more help? Contact Support